Wednesday, December 1, 2010

Slow Roasted Pork with Carrots and Winter Melon

As I mentioned a couple of posts ago, I felt adventurous during the Thanksgiving weekend and whipped up a couple of items I never tried cooking before.  This is a typical Chinese slow roasted meat dish that I love, from it's tender "melt in your mouth" meat to the combination of spices that makes the drippings a "must-spread" on a pile of hot white rice.  I was inspired to make this dish while doing some winter cleaning of my kitchen cabinets when I found packets of spices received from my dad awhile back on his trip from Taiwan.  At the time, I just took whatever he tossed my way, not knowing what it was or what to do with it.  I gave a call to my mom to ask what I can do with these packets, and she informed me that I can use it to slow cook any kind of meat!  "Well, why not!" I said, since I have a whole Sunday to myself.  And thanks to my green-thumbed friend EH, I was able to add winter melon freshly picked from her garden just the day before.  The melon made the dish that much more delicious. 

Slow Roasted Pork with Carrots and Winter Melon

Ingredients
- 1/2 lb. of pork shoulder pieces, cut into 1-2 inch cubes
- 1 Tbsp olive oil
- 1 Tbsp soy sauce
- 1 Tbsp dark soy sauce
- 2 tsp salt
- 1 Tbsp rice wine (can use sake)
- 1 tsp sugar
- 2 cups of water
- 1 packet of "spice pouch" (contains cinnamon, star anise, fennel, clove, and zanthoxylum. Although this packet was brought back from Taiwan, I am pretty sure you can find it at a Chinese supermarket here in the States.)


- 2 carrots, peeled, roughly cut into cubes
- Half of a winter melon, peeled, roughly cut into cubes

Tools
- iron cast pot

Steps
1. Heat olive oil in the crock pot and toss in pork shoulder pieces.  Saute for 5 minutes until meat is lightly browned on the outside.  Add both soy sauces, rice wine, salt, and sugar and saute for a couple of more minutes.

2. Add in water and the spice pouch.  Bring the pot to boil and then simmer for an hour.  Stir meat once in awhile during this time.

3. Turn the heat up to medium-high and add in carrots and winter melon.  Stir meat and vegetables until all vegetables are covered in sauce.  Cook for another 15 minutes, or until the carrots and winter melon are semi-soft.  If needed, salt to taste.

Tuesday, November 30, 2010

Sweet Red Bean Soup (紅豆湯)

A favorite of mine during the winter time, this warm sweet red bean (aka 紅豆 or azuki bean) soup with homemade glutinous rice balls (小湯圓, made pink and white just like ones you can buy at the store!) reminds me of the cold winters when I was young, and brings a smile to my face... probably due to the side effect of a slight sugar high!
Sweet Red Bean Soup (紅豆湯)

Ingredients
Soup:
- 1/2 cup dried red beans, rinsed
- 3 cups of water for boiling the beans; 2 cups for the soup
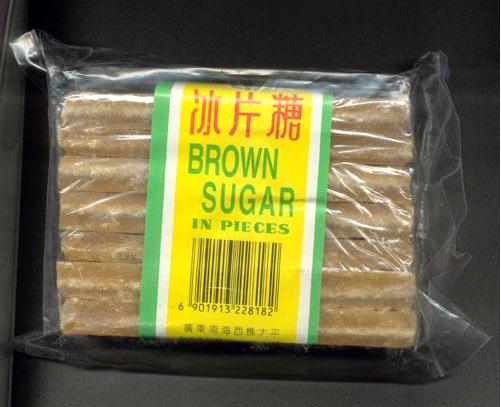
- 2 blocks of Chinese brown sugar


Glutinous Rice Balls:
- Two 3/4 cup of glutinous rice flour (糯米), separated into 2 bowls


- 1 tsp red food coloring
- warm water

Steps
1.  Rinse the red beans and place beans and 3 cups of water in a pot to boil.  Once it boils, bring the heat down to low and let it simmer for about 2 to 2.5 hours (yes, these darn beans are super hard and takes a long time to cook!).  Stir beans occassionally.  Note: ensure water is not being boiled off too quickly!

2.  Meanwhile, make the glutinous rice balls by placing 3/4 cup of glutinous flour in a bowl.  Do this again for the second bowl. 

3. Make the white rice balls first by placing about 1 Tbsp of warm water in the bowl and mix with a spoon.  Mix well until a dough forms.  Add flour or water, as needed.  Pinch a small piece from the dough and rub softly against the palms of your hand to roll into a small ball.  Place the ball on a floured plate, separated out and not touching each other.  Repeat until all dough is used to make small rice balls.

4.  Make the red glutinous rice balls by adding 1 tsp of red food coloring to the second bowl of glutinous flour.  Repeat Step 3 above.

5. Immediately place the rice balls in the freezer to freeze (still ensure each rice ball is on the floured plate and not touching each other).
(Pile of rice balls after they are frozen)

6. Once the red beans have been thoroughly cooked and is soft, add about 2 or more cups of water (a lot of the water have been cooked off, so you want to replace them).  Place 2 blocks of Chinese brown sugar (if this is too sweet for you, add some more water).  Cook until brown sugar dissolves.

7. In a separate pot, bring water to boil and toss in the frozen glutinous rice balls.  Cook until all rice balls float to the surface of the water.  Scoop about 2-3 spoonfuls of red bean soup into a bowl.  Using a slotted spoon, scoop desired amount of rice balls and place in the soup bowl.  Now enjoy!

*For the remaining rice balls, use the slotted spoon and place them in the pot of red bean soup.  The next time you enjoy the dessert, the soup and rice balls can be heated up together.

Monday, November 29, 2010

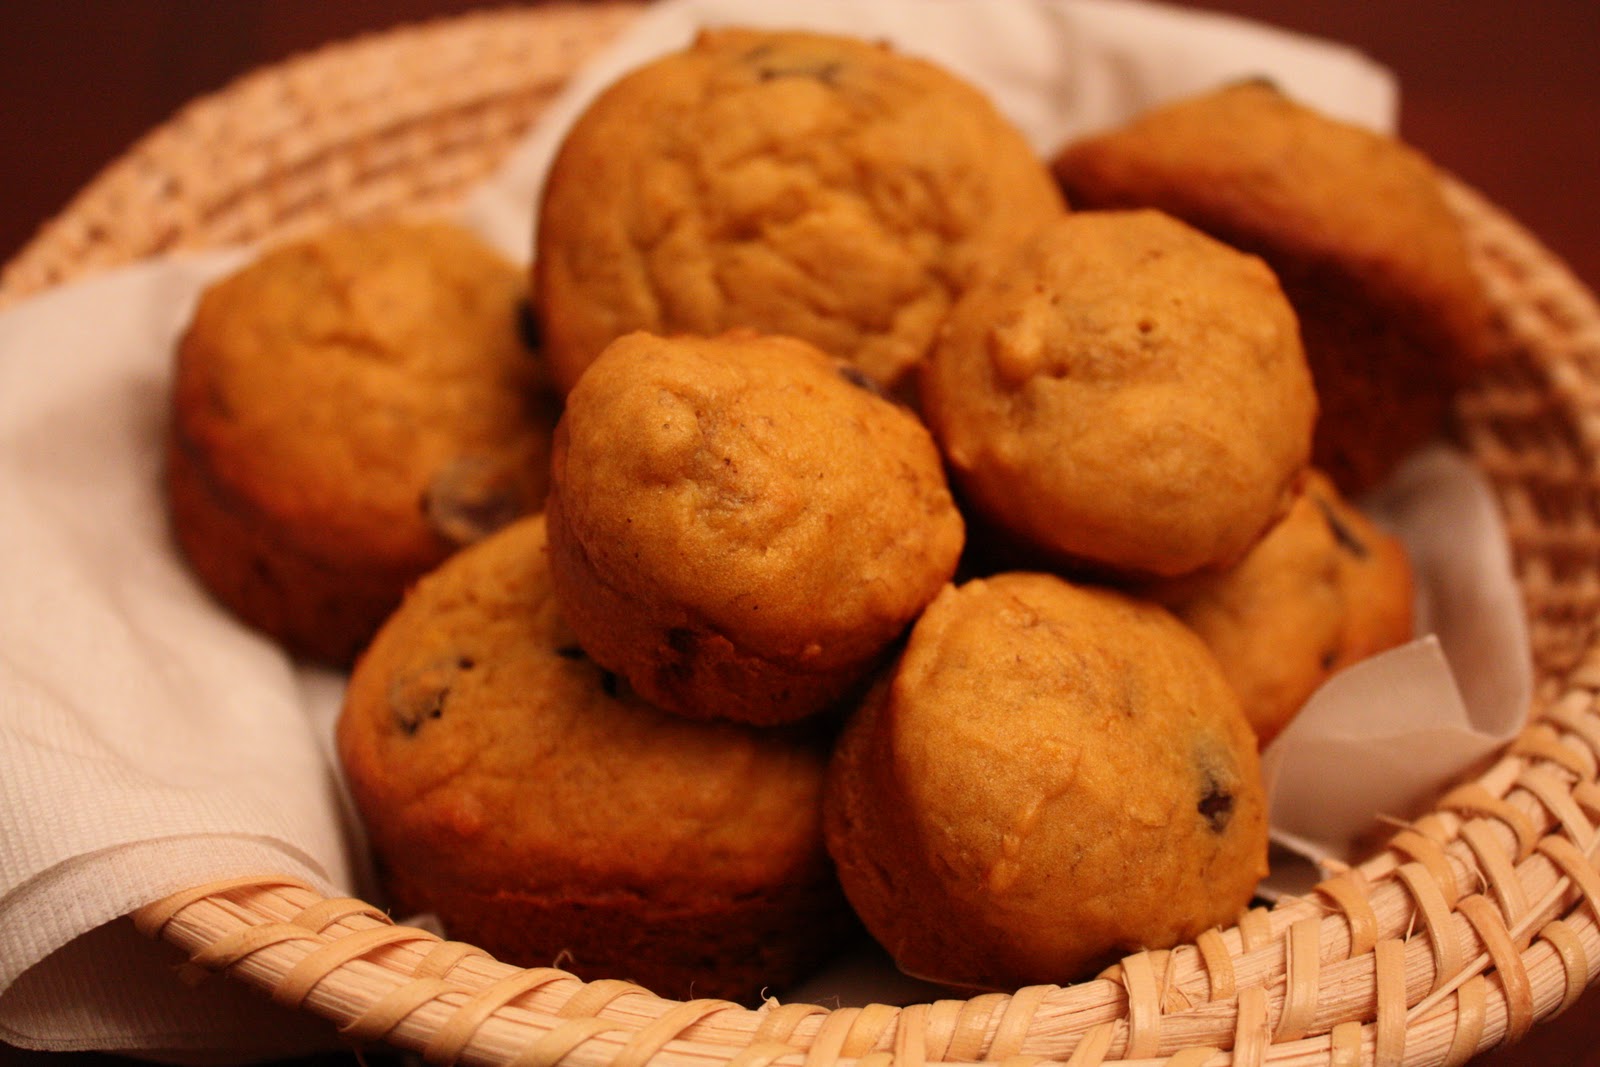
Chocolate Chip Banana Pumpkin Muffins

I like making muffins.  Lately I've been making a habit of making muffins on Sundays as a way to entertain myself (it's been "Football Sunday", which means I get the whole day to myself while the hubby sits in front of the TV from 8 am to 8 pm) and on the plus side, we end up with muffins for breakfast or a snack for the next few days.

Chocolate Chip Banana Pumpkin Muffins
adapted from http://www.cooks.com/

Ingredients
- 1/2 cup canned pumpkin
- 2 medium overripe bananas, mashed
- 1/2 cup sugar
- 1/4 cup milk
- 1/4 cup vegetable oil
- 1 egg
- 1/3 cup semi-sweet chocolate chips
- 1 3/4 cup all-purpose flour, sifted
- 2 tsp baking powder
- 1/2 tsp cinnamon
- 1/2 tsp nutmeg
- 1/2 tsp salt

Tools
- muffin pan
- mixer
- cookie dough scoop (optional)

Steps
1. Preheat oven at 375 degrees.

2. Mix mashed banana, pumpkin, sugar, milk, oil and egg in mixer until well blended.  Pour in the chocolate chips.

3. In a separate bowl, combine sifted flour, baking powder, cinnamon, nutmeg, and salt.

4. Pour dry ingredients into wet ingredients and combine just until mixed (don't over mix!).  Spoon (use a cookie dough scoop if you have one, they are great!) into greased muffin tins.  Bake for 20 minutes or until toothpick inserted into muffin comes out clean.

Makes 12.

A few tips...
...you can make mini muffin by using a mini muffin pan!  If you don't want to end up with tons of mini banana pumpkin muffins, you can reduce the recipe by half and can probably get close to about 24 mini muffins.
...you can add anything extra as desired, such as pecans, walnuts, or dried cranberry.

Sunday, November 28, 2010

Banana Cake Roll

This Thanksgiving weekend went by fast (don't they all...) and I'm really dreading going back to work tomorrow.  I ate a lot, I went crazy during Black Friday shopping (10 pm on Thanksgiving night until 7 am, baby!), and I also enjoyed a few exciting cooking adventures!  I whipped up this Banana Cake Roll for a quick gathering of light eating (although that is never possible with us) and movie-watching at a friend's this past Saturday.

I followed the recipe step by step, so please click here if you want to make this.  I was a bit nervous in making this dessert because one, I suck at baking, and two, this cake calls for delicate rolling of cake.  I foresaw a big disaster coming my way (cake cracking and pieces falling, sticky cream cheese frosting all over, you get the picture...) but it wasn't hard at all!  It's a very easy and simple recipe.  And yum!

Banana Cake Roll