Ingredients
Soup:
- 1/2 cup dried red beans, rinsed
- 3 cups of water for boiling the beans; 2 cups for the soup
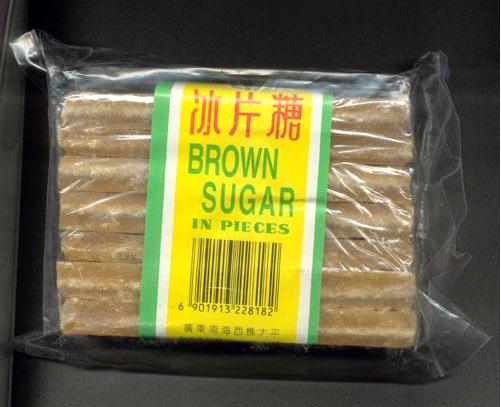
- 2 blocks of Chinese brown sugar
Glutinous Rice Balls:
- Two 3/4 cup of glutinous rice flour (糯米), separated into 2 bowls

- 1 tsp red food coloring
- warm water
Steps
1. Rinse the red beans and place beans and 3 cups of water in a pot to boil. Once it boils, bring the heat down to low and let it simmer for about 2 to 2.5 hours (yes, these darn beans are super hard and takes a long time to cook!). Stir beans occassionally. Note: ensure water is not being boiled off too quickly!
2. Meanwhile, make the glutinous rice balls by placing 3/4 cup of glutinous flour in a bowl. Do this again for the second bowl.
3. Make the white rice balls first by placing about 1 Tbsp of warm water in the bowl and mix with a spoon. Mix well until a dough forms. Add flour or water, as needed. Pinch a small piece from the dough and rub softly against the palms of your hand to roll into a small ball. Place the ball on a floured plate, separated out and not touching each other. Repeat until all dough is used to make small rice balls.
4. Make the red glutinous rice balls by adding 1 tsp of red food coloring to the second bowl of glutinous flour. Repeat Step 3 above.
5. Immediately place the rice balls in the freezer to freeze (still ensure each rice ball is on the floured plate and not touching each other).

(Pile of rice balls after they are frozen)
6. Once the red beans have been thoroughly cooked and is soft, add about 2 or more cups of water (a lot of the water have been cooked off, so you want to replace them). Place 2 blocks of Chinese brown sugar (if this is too sweet for you, add some more water). Cook until brown sugar dissolves.
7. In a separate pot, bring water to boil and toss in the frozen glutinous rice balls. Cook until all rice balls float to the surface of the water. Scoop about 2-3 spoonfuls of red bean soup into a bowl. Using a slotted spoon, scoop desired amount of rice balls and place in the soup bowl. Now enjoy!
*For the remaining rice balls, use the slotted spoon and place them in the pot of red bean soup. The next time you enjoy the dessert, the soup and rice balls can be heated up together.